Boo! Greedy Kid editor manual (Windows only)
Note: The Boo! Greedy Kid editor is only available on Windows and there is no plan to port the editor to Mac OS or Linux.
Manual version: 1.01
Last modified: 13th february 2018
Online version: http://greedy-kid.com/editor_manual/
Contact and support: Boo! Greedy Kid editor Steam forums
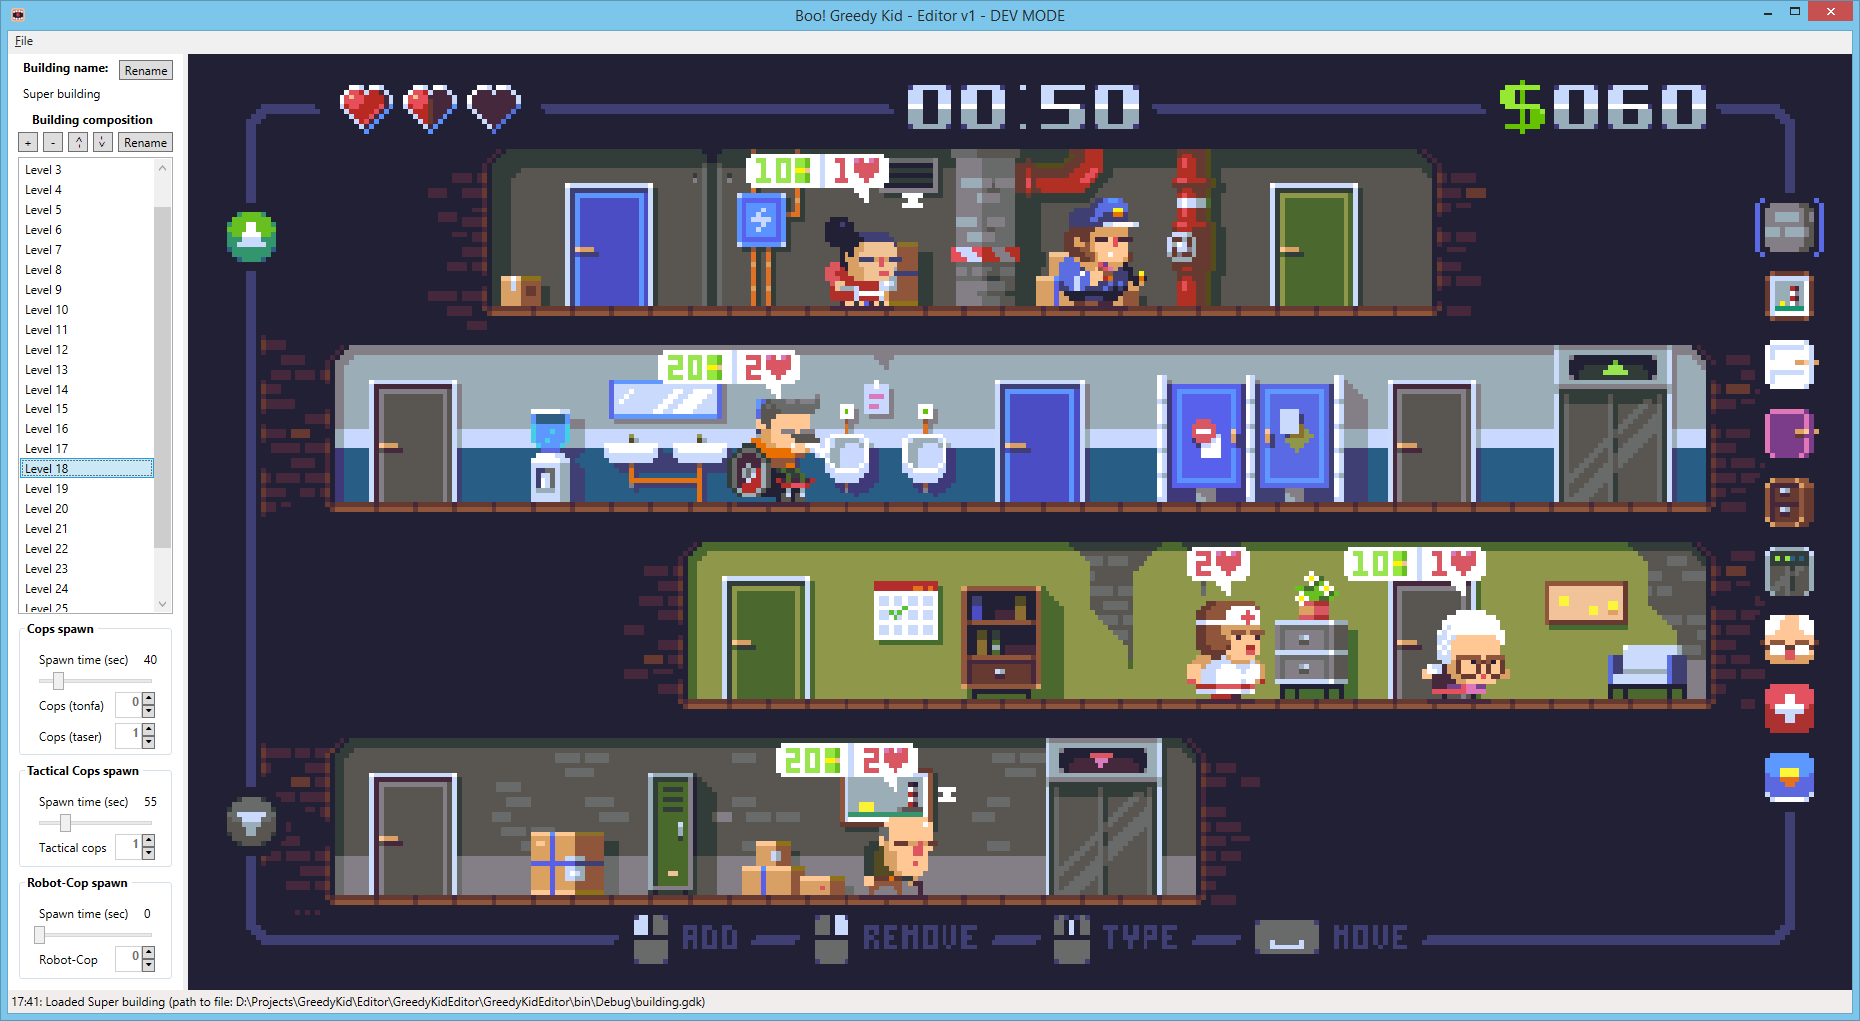
Table of contents
Introduction to the editor
Welcome to the Boo! Greedy Kid editor!
This tool allows you to create your own buildings (with up to 99 levels per building) and to upload them on the Steam Workshop of the game.
Through this document, you will learn how to do all of this.
Let’s get started!
Requirements
The editor requires a Direct3D 10 compliant graphics card and drivers, as well as the .Net Framework 4.5 (or newer).
If you’re running the editor from Steam, you shouldn’t need to install anything else.
If the editor fails to launch, it most probably means that your graphics card or drivers are not compatible.
Note: The editor and the game don’t use the same technology, hence they both have different requirements. Please refer to the game’s Steam page for its own requirements.
Launching the editor
From Steam
When starting Boo! Greedy Kid from your Steam library, a pop-up window will appear and will propose you to either start the game, or the editor.
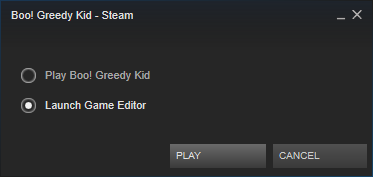
Select the editor (you will be able to start the game directly from the editor if need be).
From disk
The editor is located in the game installation folder, in the Editor sub-folder. Double-click on GreedyKidEditor.exe to launch it.
If you are using the Steam version of the game, the editor may require that Steam is launched before it can run.
Creating a building and managing its levels
Understanding the game structure
In Boo! Greedy Kid, the action takes place in a single building (also nammed “campaign” in-game).
Each building can have up to 99 levels. These levels are what you need to design individually and what makes gameplay space.
The editor save your building in a special file format with the .gdk extension. These files are only readable by the editor.
Setting up a new building
You may create a new building by clicking on the File menu and select New.
Then, rename your building by clicking on the top left Rename button. This is the name that will appear on the Steam Workshop as well as in-game.
Managing levels (add / remove / re-order)
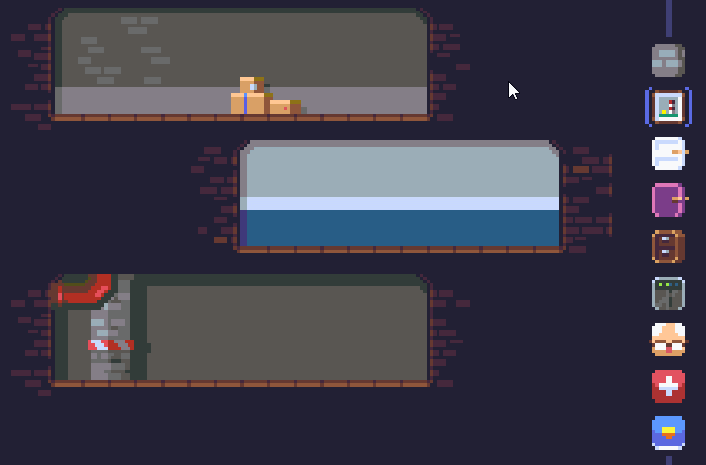
On the left of the editor, you can see your building configuration . By default, it only has one level, but you can Add more, Remove them, or adjust their order with the up and down buttons.

You can also Rename levels, but their name will not appear in-game or on the Steam Workshop. Their name is only for your personal organization and comments.
We are now ready to start creating a level. Click on the first level to make it the active level.
Editing a level and understanding the creation modes
The level editing space
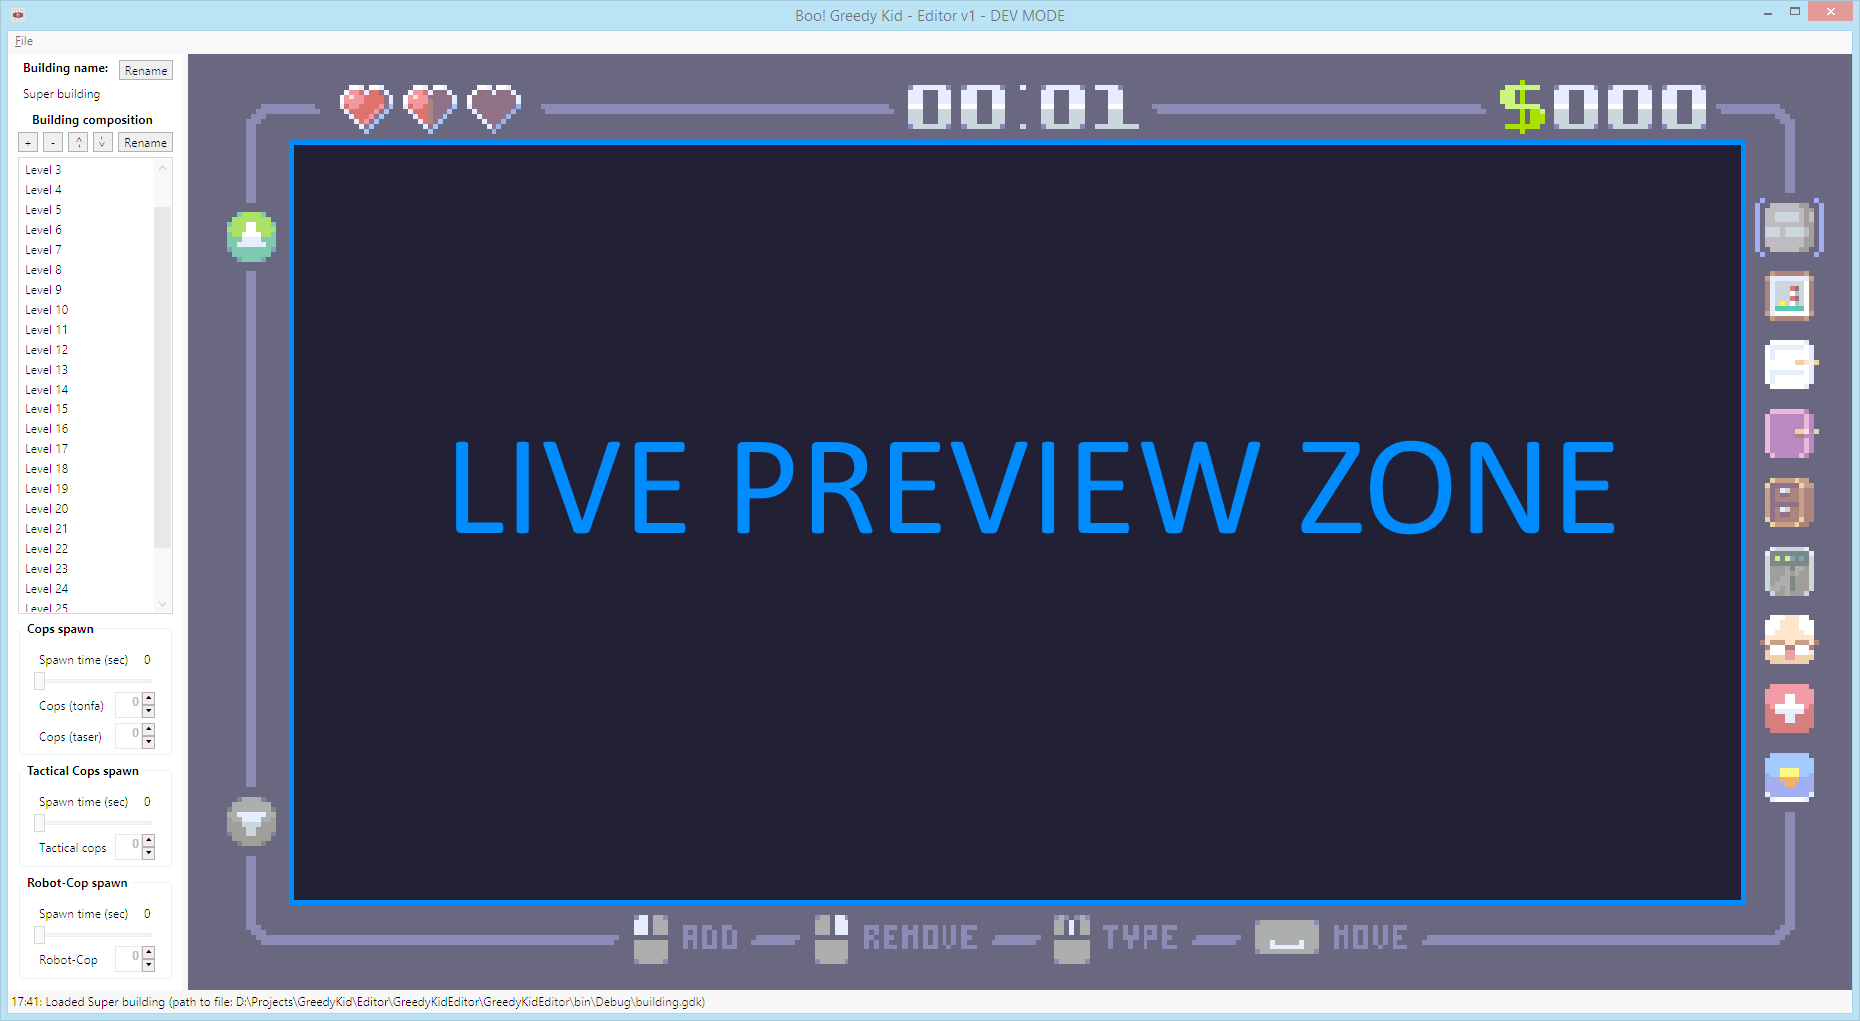
All the editing is done within the live preview zone.
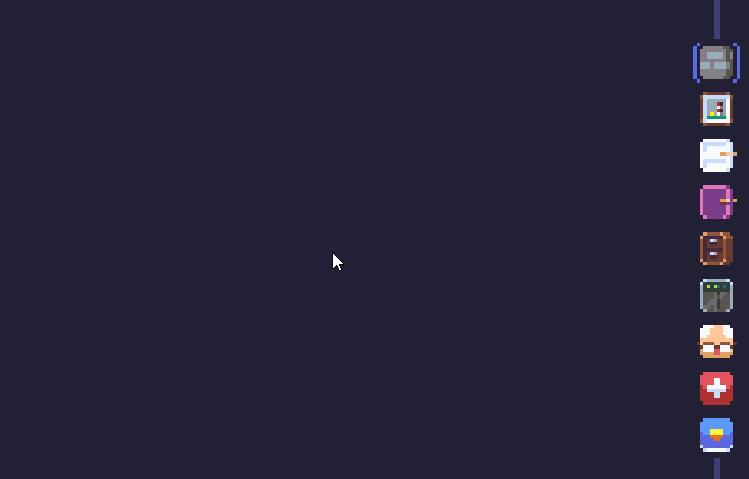
On the right, you can access the creation toolbox . Each icons represent a mode to progressively build your level.
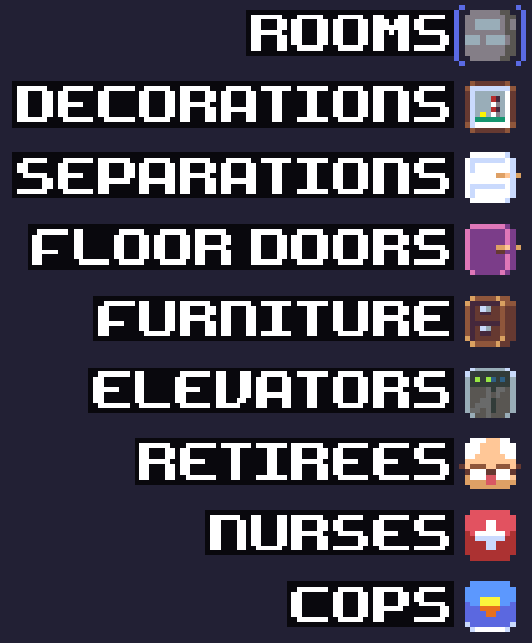
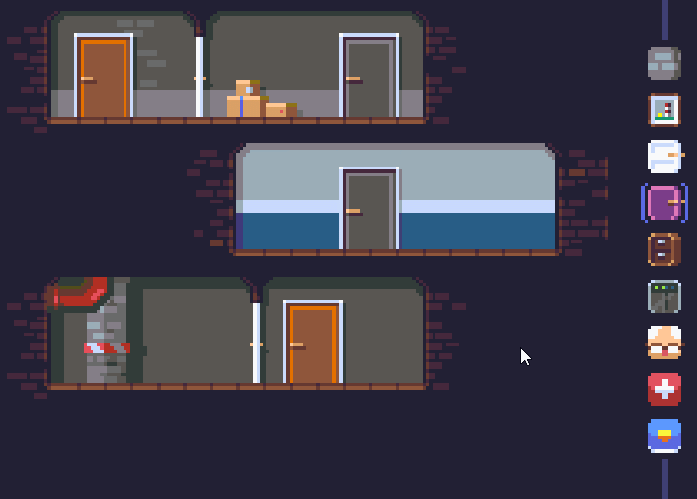
 Room mode
The first mode is the room mode. Left click on it, and you may now create empty room by left clicking somewhere on the live preview zone.
You can adjust a room’s size by hovering one of its walls, and press + maintain the space bar . You can now adjust its size as long as you maintain the space bar.
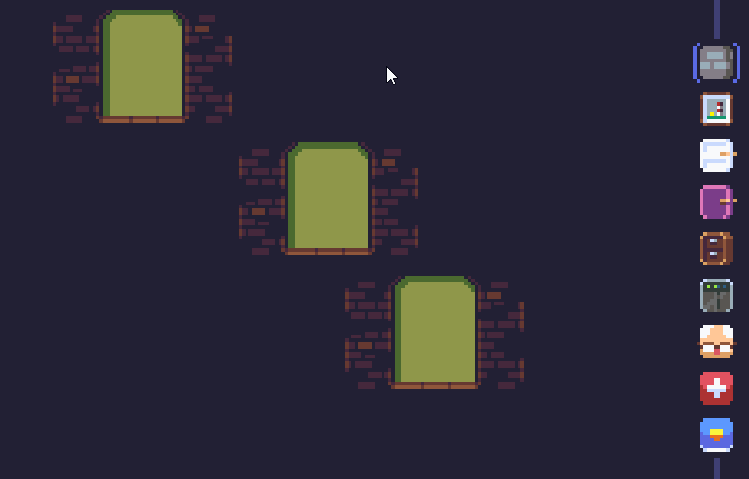
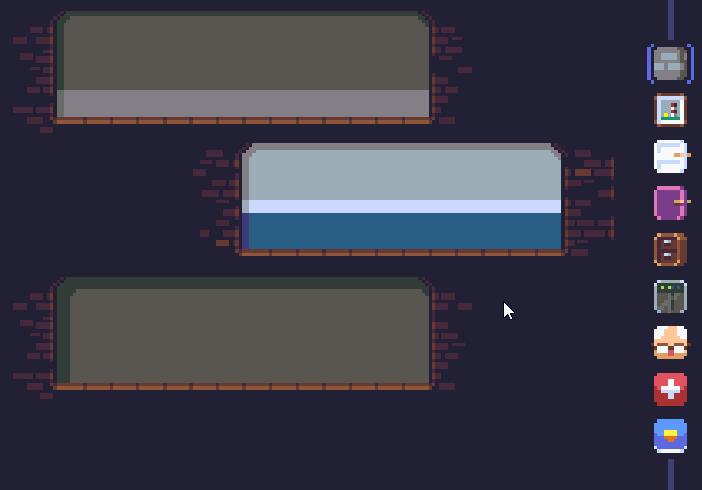
You can customize the appearance of a room by hovering its outer or inner walls and using the mouse wheel .
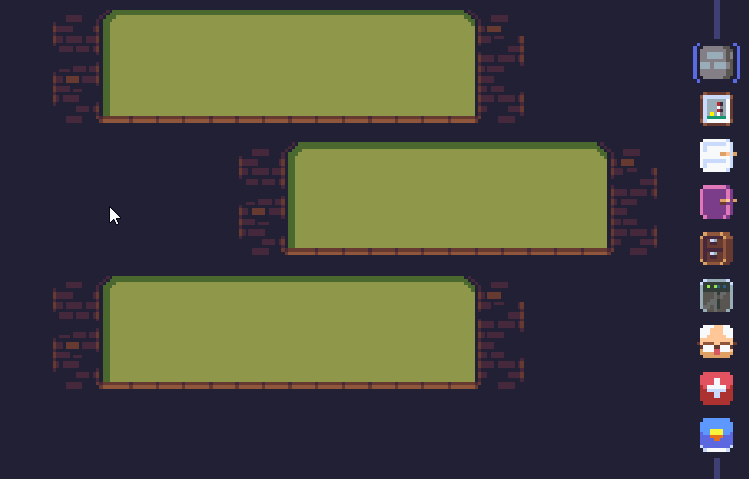
If need be, you can totally remove a room and its content by hovering it and right click on it. A confirmation message will appear before fully removing a room to prevent any unwanted clicks.
 Decoration mode
The second creation mode is the decoration mode.
Once selected, you can add decorations by left clicking on a room. To change between the different decoration available, you can use the mouse wheel while hovering a decoration.
If you’d like to move a decoration, hover it and maintain the space bar just like room size adjustment.
You can also remove a decoration by right clicking on it.
If you have two decorations overlapping and wish to adjust which one should be over another one, you can use the C and V keys while hovering a decoration to change its layer.
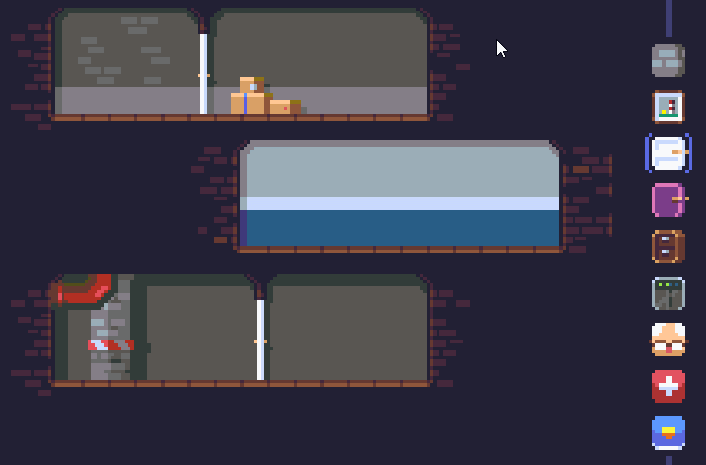
 Separation (white) door mode
This mode allows you to add white doors to divide a room into multiple spaces. NPC can’t go through those doors when they are closed.
Adding, removing or moving a door works just like the other modes by using the mouse buttons and the space bar while hovering a door.
You can also change its default state (closed or open), by using the mouse wheel while hovering a door.
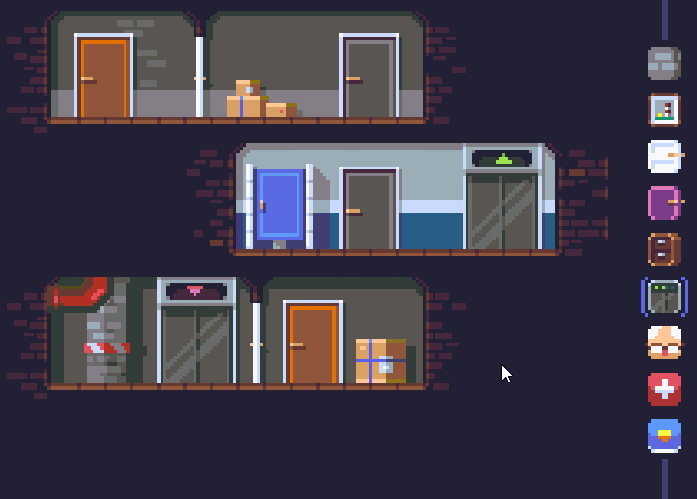
 (Colored) Floor door mode
This mode allows you to add doors that will connect together to navigate to other rooms. NPC can go through these doors.
To select which room leads to another one, both doors must have the same color. To add a door use the left click , and to change a room’s color, use the mouse wheel while hovering it. For instance, if you change two doors to orange, they will connect.
There can only be two doors with the same color in a level. But this rule doesn’t apply to grey doors. Grey doors don’t work with colors, but instead with vertical alignment.
When you move a grey door, you will see vertical guidelines to help you align them. If two grey doors are perfectly aligned (to the pixel), they will connect.
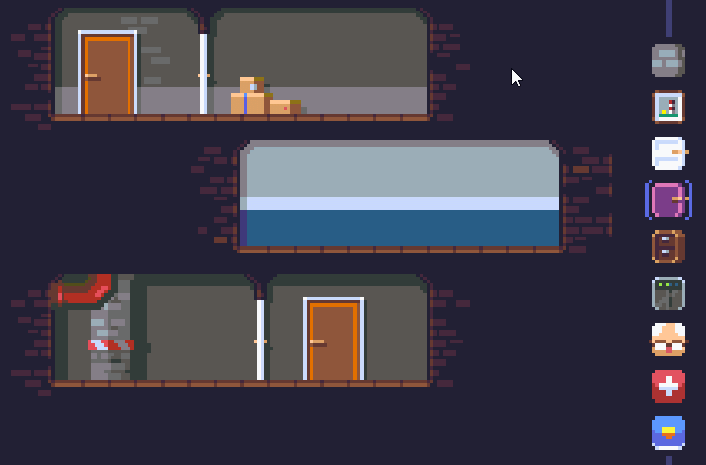
Sounds complicated? Don’t worry, the editor will tell you if there’s anything wrong with your doors.
 Furniture mode
Furniture are objects behind which the kid can hide.
You can add, change, or move furniture like any other modes, by using your mouse buttons / wheel and the space bar.
Like the decorations, you can adjust their layer with the C and V keys if you’d like to fine tune overlapping furnitures.
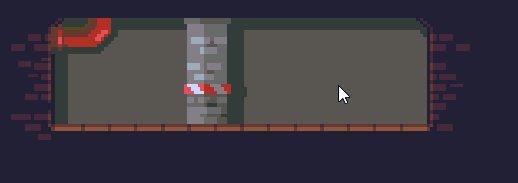
 Elevator mode
Each level must have an entrance elevator, and an exit elevator.
To place an entrance, left click where you’d like to add it. To place an exit, use the right mouse button .

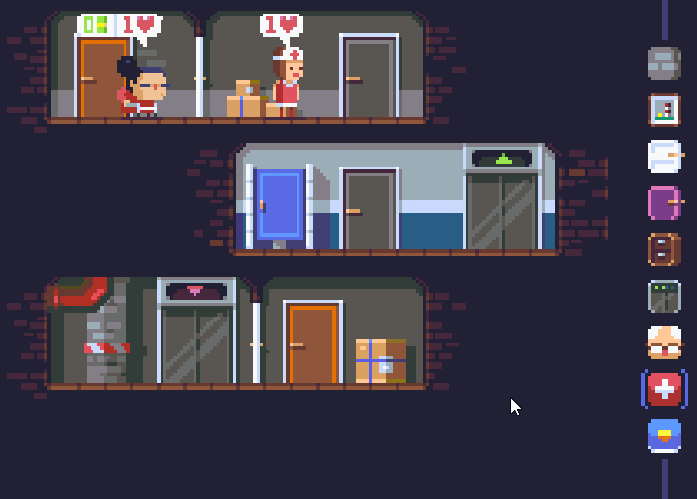
 Retiree mode
In this mode you can place retirees in the level.
You can customize their appearance with the mouse wheel .
You can also adjust their life with the C and V keys while hovering them, or adjust their money with the B and N keys.
Life points represent the number of time it is required to scare them.
 Nurse mode
This mode is for placing nurses, and works just like the retiree mode (to the exception that nurses don’t drop money).

Life points represent the number of time it is required to scare them.
 Cop mode
The cop mode allows you to add cops who will be present in the level right from the start of the level.
You can change the cop type by using the mouse wheel while hovering a cop.
If you prefer to add a timer before cops will enter the level, have a look at the lower left of the editor.
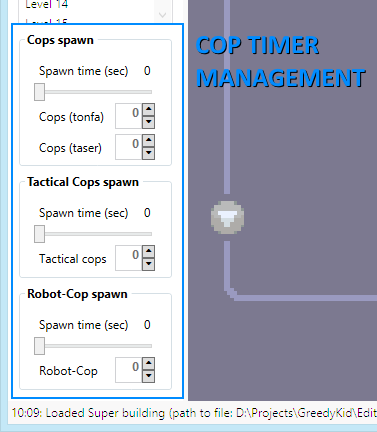
Here you can adjust how many seconds from the start of the level are required for cops to spawn, and which kind of cops should arrive.
Note that you can have cops already in the level and cops arriving later at the same time (e.g. you can have two cops wandering from the start, and another one arriving after 10 seconds).
Note 1: Cops always spawn in the following order:
1. Normal cops
2. Tactical cops
3. Robot-copsNote 2: The time sliders are cumulative. This means that if you set the cop slider to 5 seconds, and the tactical cop slider to 10 seconds, the normal cops will arrive after 5 seconds, but the tactical cops will arrive after 15 seconds (i.e. 10 seconds after the normal cops).
Note 3: You can spawn only specific cops by leaving sliders to 0. For example, if you want to spawn only tactical cops, set the normal cop slider to 0 and none will spawn.
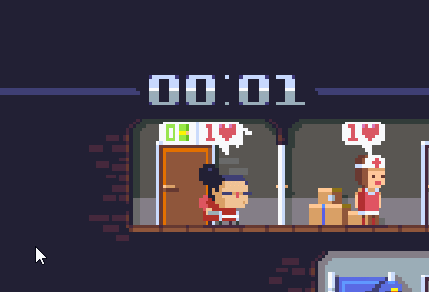
Setting the target time for scoring
When players complete a level, they are awarded up to 3 stars depending on the following:
- 1 star for completing the level;
- 1 star for collecting all the money without loosing any;
- 1 star for completing the level under the target time.
The target time is a value that you must set yourself in the editor. It is represented by the timer at the top of the live preview zone.
You can change the target time by hovering it and use the mouse wheel (to adjust it by 1 second at a time) or the left / right mouse buttons (to adjust it by 5 seconds at a time).
Be sure to thoroughly test your level target time to make sure that the score is beatable.
Testing your buildings in-game
Level design rules
For a level to work in-game, it must follow these design rules:
- Your building must have a name;
- All levels must have an entrance elevator and an exit elevator;
- The exit elevator must be reachable by the player;
- All retirees must be reachable by the player;
- All doors must be connected (no single door are allowed);
- Doors can’t be connected to more than one door;
- Spawn timers can not be set if there is no cop count assigned to them.
You don’t have to remember these rules as the editor will warn you of any errors and will prevent any export or upload of broken levels.
Exporting a test building
If all the design rules are met, you are now all set to test your building in-game!
First save your building through the File menu.
To test your level in game, use the File menu and click on Export to test in-game.
This will add your building only to your game and you can now start the game and test it. You can start the game directly from the editor.
Live testing without restarting the game
To test your freshly exported level, start the game and go to the Steam Workshop menu. Your building should appear here and be labeled as “test” after its name.
Note: You can keep the game running and go back to the Steam Workshop menu while you edit your levels in the editor. If you export new buildings they will automatically appear without the need to restart the game.
Don’t forget to export your building each time you are making changes to try them.
Uploading your buildings to the Steam Workshop
When you are satisfied with your building, you can share it with the world!
Initial upload
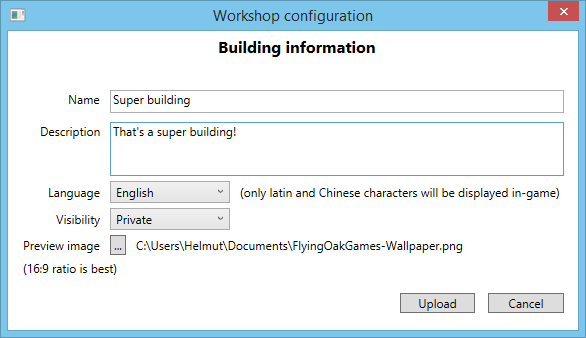
Click on the File menu and select Upload to Steam Workshop.
Complete your upload by adding a description , selecting a language and adding a 16:9 preview image (e.g. a 1280x720 PNG file), and hit the upload button.
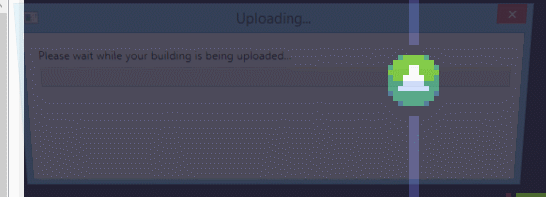
If everything went well, your level is now available on the Steam Workshop!
Note: If it’s you’re first time uploading something to the Steam Workshop, you will have to accept the Steam Workshop End-User Agreement before your item can be public. The editor should guide you if this should happen.
Updating a building already uploaded
If you try to re-upload a building using the same .gdk file, the editor will automatically proceed with an update of the existing Steam Workshop item based on the .gdk internal identifier.
Note: When you first upload a building to the Steam Workshop, your building is attributed a unique identifier that is stored in your building’s .gdk file.
This identifier is then used to update an existing Steam Workshop item.
This identifier can not be edited or viewed. This means that if you want to be able to update an existing Steam Workshop item, you must not loose the original .gdk file used for the first upload.